


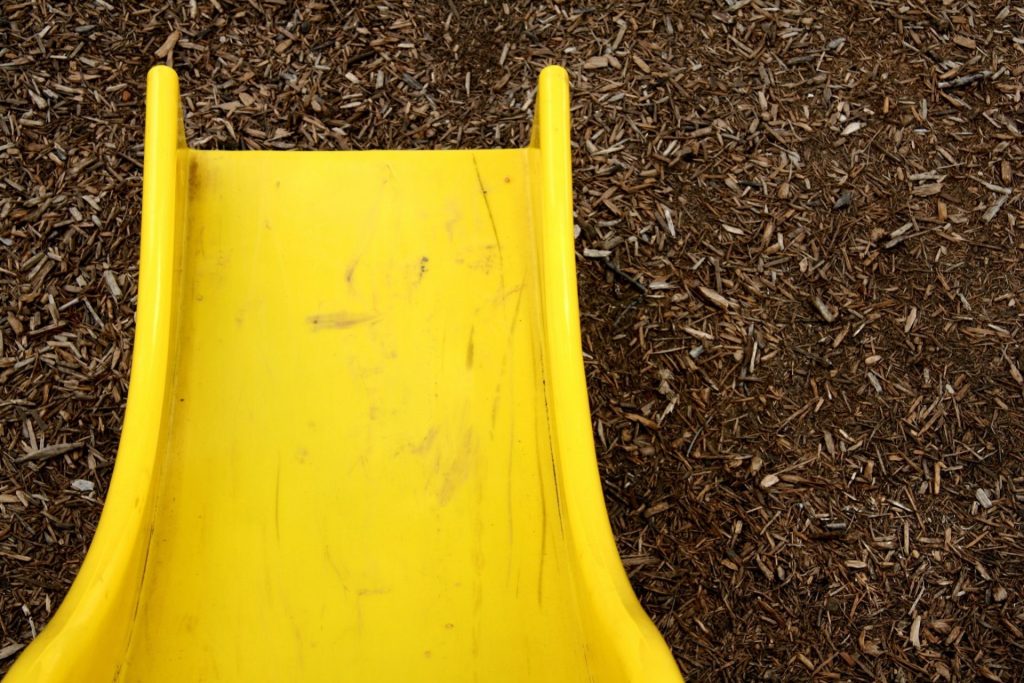
Especially if you have kids who love to get outside, you may have noticed that some public playgrounds use wood chips as a surface, for example at the bottom of slides or underneath climbing frames and swing sets – but why is this? The truth is, wood chips are a natural, inexpensive and safe material to use when building children’s play areas – and the good news is that you can use them to build your own outdoor play space at home too.
To find out more about creating your very own play area, keep reading.
Building a wood chip play area
If you’re keen to build a wood chip play area in your garden, it’s worth doing your research first. After all, there’s no doubt you’ll want the play area to stand the test of time, so it’s a good idea to ensure that it’s done properly.
To get you started on your DIY play area project and to ensure you know which landscaping supplies you’ll need, check out our useful step-by-step guide.
Mark out the area
Firstly, you’ll need to decide where you want the play area to be. To help you determine where to locate it, you could try marking out each side of the area using a piece of string or rope. You can move the string or rope until it’s in a position that you’re happy with, and if you lay it on the ground, you’ll be able to get a better idea of what the area will look and feel like once complete.
Ideally, you should choose an area of your garden that’s not too soggy. If you have no choice but to choose an area that struggles to absorb water, you may want to address any drainage issues before you start your project.
It’s also a good idea to choose an area that’s a fair distance from the house. This will mean you don’t need to worry about the play area obstructing the space immediately at the back of your property.
Prepare the ground
Next, you’ll need to prepare the ground where you plan on building the play area. You should remove any grass, as well as any concrete slabs or paving. Once you’ve cleared the surface, you’ll need to rake the soil thoroughly before flattening it. To do this, simply lay down a large, flat piece of wood at your feet to flatten the soil underneath.
Define the edges of the play area
To keep the wood chips in the dedicated area, and to save them from getting all over the rest of your garden, it’s a good idea to define the edges of the play area. There are a variety of materials you could use to do this. For example, you could put softwood or oak sleepers in place, or if you want to be extra safe, you may feel that rubber edging is more suitable. Rubber edgings are especially convenient because they can be bent into curves, giving you the option of creating a play area of any shape. However, bear in mind that rubber edging will need pinning in place, which will require a little more time and effort on your part.
You may also take this opportunity to decide if you want to install a sandpit within the play area. You can use your choice of edging to mark out this space too.
Lay down a good quality membrane
You’re nearly ready to fill your play area with wood chips, but first, you’ll need to lay down a good quality membrane. This is a strong piece of material which is pegged down to keep it in place. The fabric membrane will prevent any weeds from growing through, and it is completely porous too, so it won’t retain any water. To further strengthen the foundation of your play area, you may also want to add a layer of sand.
How to lay wood chips for a playground
It’s now time to lay your wood chips. You can purchase wood chippings in bulk bags, which can be more cost effective than buying multiple smaller bags. Simply pour the wood chips into the play area, making sure that you spread them out evenly so that you create a level surface to walk on. You may find it easiest to position your bulk bag of wood chippings in the centre of the play area and split it open with a knife before spreading the chippings outwards until the entire surface, including corners and edges, are suitably covered.
Once all of the wood chips have been distributed evenly, you’ll be ready to position your play equipment ready for your little ones to enjoy.
How many wood chips are needed for playgrounds?
According to the Royal Society for the Prevention of Accidents, it’s recommended that public play areas are filled to a minimum depth of 300mm, while domestic play areas should ideally be filled to a minimum depth of 150mm. If you’re building a play area in your back garden, you may want to fill it up higher depending on the height of your borders. You should ensure that it’s safe for your little ones to step in and out of the play area, and that there isn’t too much of a drop down.
You can work out how many wood chips you’ll need for your play area by using the following calculation. Simply multiply the length of the area by the width, then again by the depth.
For example, if your play area is 15 metres in length, by 10 metres across, and you want to fill the area to a depth of 200mm, this works out as 30 cubic metres. This should give you an idea of how many wood chippings you’ll require.
Are wood chips safe for playgrounds?
In short, yes – wood chips are perfectly safe for playgrounds. Wood chips have good shock absorbing qualities, meaning they can help prevent injuries if a child was to fall. They are an all natural, biodegradable material too, providing your children with a safe and pleasant surface to play on.